by Andy Bell | Jan 30, 2012 | Photo Class, Photography |


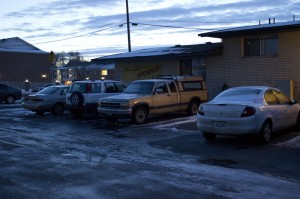
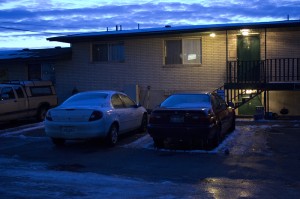
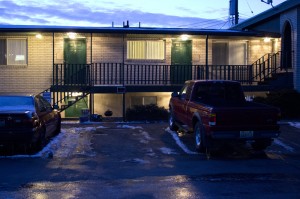
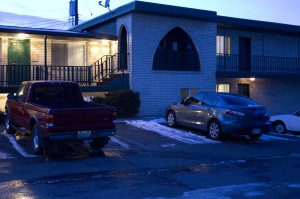
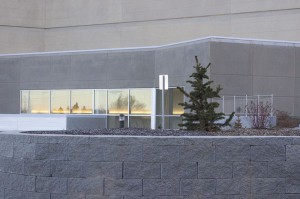
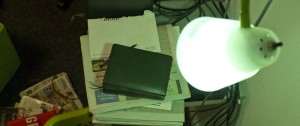
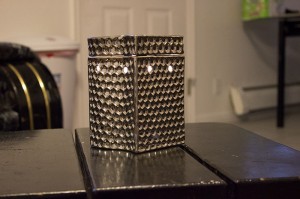
Left to right, top to bottom: (all are untitled)
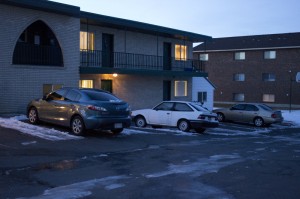
January 28, 2012, 5:33pm; Rexburg, ID; f/4.0, 1/30, Canon T3i
January 28, 2012, 5:33pm; Rexburg, ID; f/4.0, 1/40, Canon T3i
January 28, 2012, 5:33pm; Rexburg, ID; f/4.0, 1/25, Canon T3i
January 28, 2012, 5:33pm; Rexburg, ID; f/4.0, 1/15, Canon T3i
January 28, 2012, 5:34pm; Rexburg, ID; f/4.0, 1/13, Canon T3i

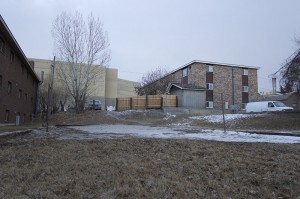
“Home Sweet Home”
A panorama of my apartment complex. Adjusted in Camera Raw after I finished stitching it together.


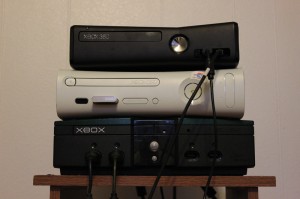
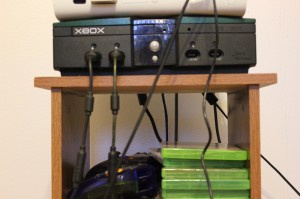
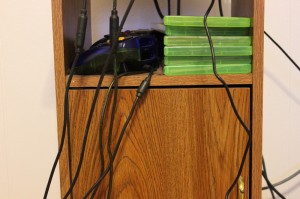
January 30, 2012, 9:44am; Rexburg, ID; f/5.0; 1/80; Canon T3i
January 30, 2012, 9:44am; Rexburg, ID; f/5.0; 1/30; Canon T3i
January 30, 2012, 9:44am; Rexburg, ID; f/5.0; 1/25; Canon T3i

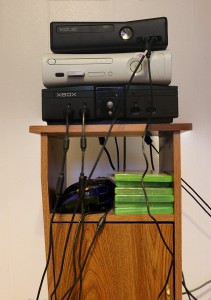
“Xbox Oreo”
Bonus points if you get why the image is titled what it is.
by Andy Bell | Jan 23, 2012 | Editing, Photo Class |


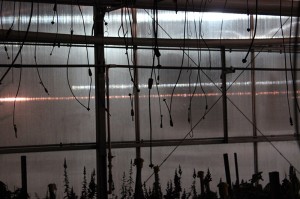
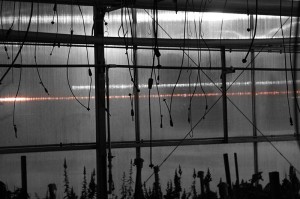
“Silhouette”; January 21, 2012, 10:38pm; BYU-Idaho Greenhouses, Rexburg, ID; f/5.6; 0.3; Canon T3i; No flash
For this one, I used a combination of smart filters and adjustment layers. To start, I applied the “smart sharpen” filter on the image. The radius was about 5 pixels because it really made the water tubes stand out. Then I masked out the sharpen filter completely at the bottom, and about 60% at the top, so that the middle would stand out even more. However, I thought it still needed something else, so I applied the black and white adjustment layer to the image, and masked it out in the middle, where the red light was diffusing on the greenhouse wall. I used a very soft feather to mask it out.


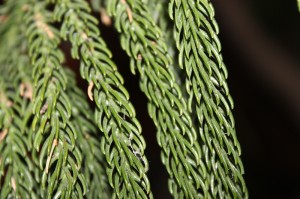
“The Tree’s Closeup”; January 21, 2012, 10:46pm; BYU-Idaho Greenhouse, Rexburg, ID; f/5.6; 1/60; Canon T3i; Flash fired
This edit was much more simple. I simply used two adjustment layers. The first was levels, just to adjust the contrast of the image. Then I used the hue/saturation one. With that one, I did masking so that the effect was most prominent on the parts that were closest to the lens and in focus most. Then I used less as the branches got further back.
by Andy Bell | Jan 23, 2012 | Photo Class, Photography |
I forgot to go take some photos of plants and animals until relatively late on Saturday night, but this ended up being a blessing in disguise. I went to the greenhouses in the Benson building, but they were locked. However, the security guard let me in. None of the lights were on in the greenhouses, making for quite the challenge in shooting (the only flashlight I had was my iPod), but it also offered some great opportunities. (Particularly, to learn how to adjust my camera’s focus one-handed, while shining a light at the subject with the other.)


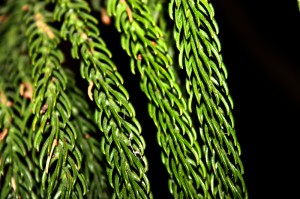
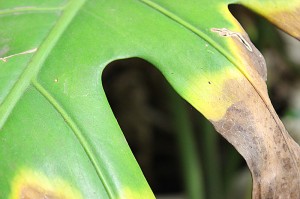
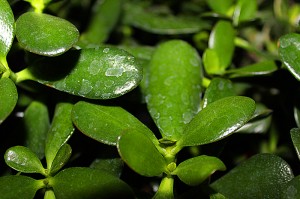
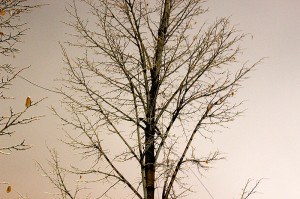
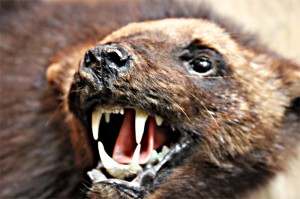
Clockwise, from top-left:
“Life to Death”; January 21, 2012, 10:29pm; BYU-Idaho Greenhouse, Rexburg, ID; f/5.6; 1/15; Canon T3i; Sharpen filter applied and partially masked out
“Green”; January 21, 2012, 10:34pm; BYU-Idaho Greenhouse, Rexburg, ID; f/4.0; 1/60; Canon T3i; Flash fired, Saturation increased, Sharpened
“Wolverine”; January 23, 2012, 10:32am; BYU-Idaho Wildlife Museum, Rexburg, ID; f/5.6; 1/13; Canon T3i; Sharpening added
“Night for Day”; January 21, 2012, 11:02pm; BYU-Idaho, Rexburg, ID; f/4.5; 0.5; Canon T3i; Sharpen, soft glow, and levels adjusted
by Andy Bell | Jan 16, 2012 | Editing, Photo Class |

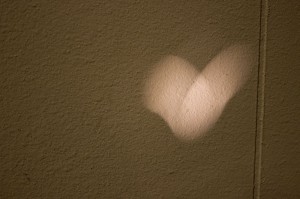
Light Heart; January 16, 2012, 8:34am; Rexburg, ID; f/4.5; 1/60; Canon T3i; automatic adjustments made in Photoshop camera raw

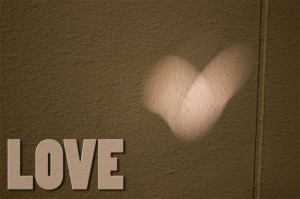
“Love in Abstract”
This one wasn’t really hard to make. I morphed a copy of the background and the type layer together, added some bevel and a drop shadow to the type, and then took one of the colors from the center of the light heart and blended that color in a little bit to the type layer. It’s a subtle effect, but I didn’t want to go overboard on this; I think the image mostly speaks for itself.

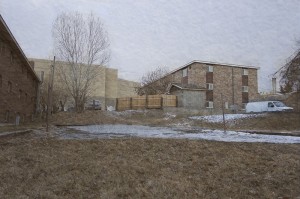
Volleyball Court; January 16, 2012, 8:19am; Rexburg, ID; f/4.0; 1/40; Canon T3i; slight white balance adjustment and lens distortion adjustments in camera raw

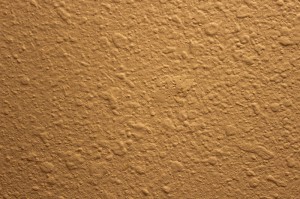
Wall Texture; January 15, 2012, 5:19pm; Rexburg, ID; f/4.5; 1/60; Canon T3i

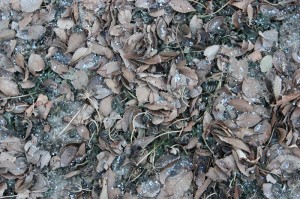
Leaf Texture; January 16, 2012, 8:20am; Rexburg, ID; f/5.6; 1/100; Canon T3i

“Visions of a Volleyball Court”
This blend is a composite of all three of the above images. The main image is, of course, at full opacity. The others are both around 20-30%. Then I used masks to lighten some parts even further, particularly in the sky and on the court. I really wanted to use the leaf texture because it was actually taken on the volleyball court. But I also really like the texture and the coloring that the wall texture added. I think it made the image seem less sterile.
by Andy Bell | Jan 16, 2012 | Photo Class, Photography |
In Rexburg in the wintertime there are essentially 3 colors outside: white, brown, and green. And there isn’t a whole lot of white yet this year. I decided to do a little study of green, because it’s the nicest color outside right now. It’s just a bonus that I discovered a surprisingly large amount of green inside too!


From top-left, clockwise:
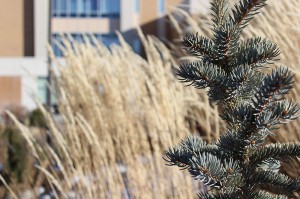
“A Tree”; January 13, 2012, 2:13pm; Rexburg, ID; f/4.5; 1/640; Canon T3i; With my focal length of 36mm for this shot, the aperture was as low as I could set it, leading to the blurred wheat, which was probably 5 or 6 feet from where I was standing
“Lonely Tree”; January 16, 2012, 8:27am; Rexburg, ID; f/36; 1/25; Canon T3i; handheld, adjustments made in camera raw (mainly raising the exposure)
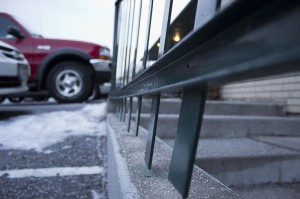
“Ride the Green Rail”; January 16, 2012, 8:22am; Rexburg, ID; f/3.5; 1/30; Canon T3i; auto adjustments in camera raw
“Illumination”; January 16, 2012, 12:07am; Rexburg, ID; f/4; 1/50; Canon T3i; white balance and fill light changed in camera raw, image cropped to eliminate some clutter
I hesitated initially to have two trees in my color study, but I really like the first one because it is so sharp. And when I saw the small little tree by the BYU-Idaho Center, I knew I needed to take a photo of it. It’s the only tree in its little island and it is so small, which inspired me to give it the title “Lonely Tree.” Dark, cloudy days like the one I took the photo on can make me feel small and lonely like that little tree too.
I’m actually surprised how well “Illumination” turned out. It was hard to capture an image with the light on like that because my camera didn’t like the large amounts of light coming from the lamp. If you notice, the light cast by the lamp has a greenish quality to it. That’s because the florescent bulb in that lamp is actually green! I just aimed the light directly at the green scriptures and took the shot!
I have no idea why I titled “Ride the Green Rail” the way I did. I blame lack of sleep.
by Andy Bell | Jan 9, 2012 | Editing, Photo Class |


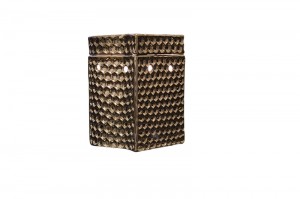
“The Apartment Your Apartment Could Smell Like”; January 8, 2012 3:26pm; Indoors, Rexburg, ID; f/5.0; 1/30; Canon T3i; No flash, ceiling light slightly behind camera


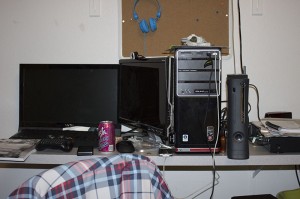
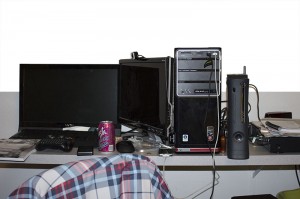
“A Bachelor Desk”; January 8, 2012 7:24pm; Indoors, Rexburg, ID; f/4.5; 1/60; Canon T3i; Flash fired, room light on
Both cutouts were done with a similar method. First I used selection tools, primarily the quick selection tool, to select the object to cut out. Then I used Photoshop’s “refine edge” tool to smooth and feather the edges, and to add a little contrast. For both images, I copied the selection to a new layer, and then added a white background to the layer directly underneath the new layer with the selected objects. For the first image, the white background is on the entire background layer. For the second one, the white background is on only part of the background layer, allowing the original image to show through.
On the first image I also rotated the object a little bit in the edited photo to compensate for a slight tilt in my original image. I shot it handheld, so there was a slight tilt I didn’t want.
