by Andy Bell | Feb 15, 2012 | Bannack, Photo Class, Photography |
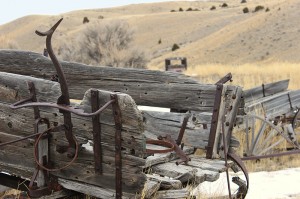
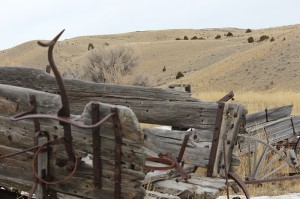
To help hone our photography skills and learn to control depth of field and focus points, we were asked to practice shallow depth and reverse shallow depth.


“Near & Far – Near”; February 10, 2012, 12:49pm; f/5.6; 1/160; Canon T3i
“Near & Far – Far”; February 10, 2012, 12:49pm; f/5.6; 1/250; Canon T3i
Until we get those nice light field cameras that are coming in the future, we have to deal with controlling where we want our focus, so for these photos we were asked to use a shallow depth of field to focus on something close, and then the same subject with something in the background in focus. On the left, the wagon in the foreground is in focus. On the right, the old car in the background is in focus. Because I shot handheld, and had to change the settings, the composition of the photos isn’t exactly the same. Also, the “Near” photo had worse coloring than the other one, so I matched the color in Photoshop and then painted in the blue color of the sky again, because it turned brown in the color matching.
by Andy Bell | Feb 15, 2012 | Bannack, Photo Class, Photography |
The magic of shutter speed is on display with these photos: capturing “ghosts” and bandits!


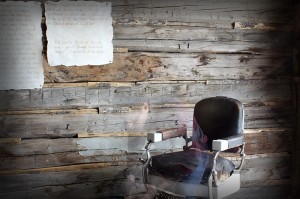
“A Ghost at Bannack”;February 10, 2012, 12:29pm; Bannack State Park, MT; f/29.0; 3.2″ shutter; Canon T3i
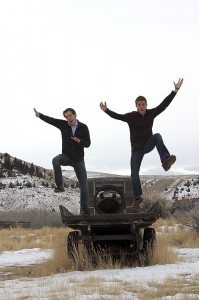
“Bannack Bandits”; February 10, 2012, 12:09pm; Bannack State Park, MT; f/10.0; 1/250; Canon T3i
To create “A Ghost at Bannack,” I simply made the shutter very long and then had the model leave the shot about halfway through the exposure. I used Shutter Priority mode to take the shot. Yes, it’s a fake ghost shot, but it’s an easy to do one technique. In post, I adjusted the image in Adobe Camera Raw and added burned edges.
One of the stories we had in mind when shooting “Bannack Bandits” was that there were some bandits escaping from the back of a truck. I used a very high shutter speed in shutter priority mode and continuous shooting to capture them while they were still in mid-air. I adjusted levels both in Photoshop and in Adobe Camera Raw.

“Glimpses of a Ghost”; February 10, 2012, 12:28pm; Bannack State Park, MT; f/29.0; 3.2″ shutter; Canon T3i
Of course, most ghost shots out in the wild are not of well-defined figures. The model exited the shot too soon in this one, but when I looked back at the photos I saw that it made for a lot of whispiness and a few points that look like parts of a ghost’s body. I applied the same adjustments to this one that I did to “A Ghost at Bannack.”
by Andy Bell | Feb 15, 2012 | Bannack, Photo Class, Photography |

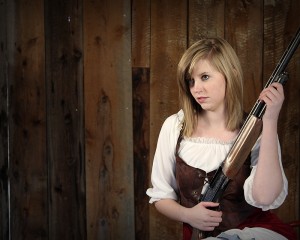
“Don’t Mess With a Frontier Woman”; February 10, 2012, 2:58pm; Bannack State Park, MT; f/5.6; 1/60; 53mm focal length; Canon T3i; Cropped to 8×10 format to improve composition and make suitable for printing
The lighting setup for this portrait was continuous. There weren’t a lot of edits done. I liked the rather dark colors, so I actually darkened the blacks a little more. Then I cropped the image to improve the composition and make the subject larger. I also applied burned edges and sharpening in Photoshop. I liked this picture because she looks focused and intense. And holding a gun, it seems like she’s the kind of woman you shouldn’t mess with.

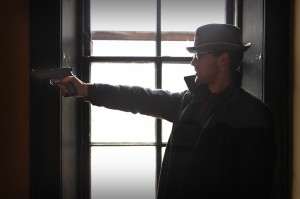
“Prepare to Die”; February 10, 2012, 3:55pm; Bannack State Park, MT; f/5.0; 1/100; 40mm focal length; Canon T3i
Looks like Bannack is about to get another ghost! I almost didn’t consider this portrait usable, but I liked the intensity of it and the story it told so much that I decided to give it a go. And, all things considered it turned out pretty well. I used adjustment brushes in Adobe Camera Raw to increase the exposure on the subject, and then I used a second adjustment brush to lighten up the gun even more because it wasn’t standing out from the window frame much. I also added burned edges because I like how that effect looks on portraits. Even though it makes it hard to see details, I love the extremely dramatic lighting of the stark white window and the very dark person. The amount of light on the subject probably matches his dark mobster soul.
by Andy Bell | Feb 8, 2012 | Editing, Photo Class |


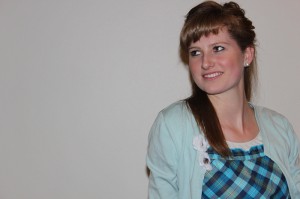
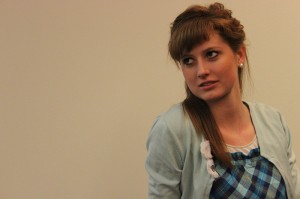
Original (left), January 7, 2012, 9:59pm, f/5.6, 1/60, Canon T3i, flash fired
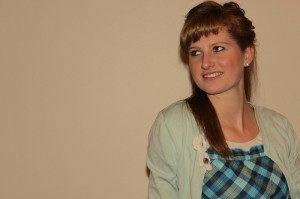
Better Color (right), January 7, 2012, 9:59pm, f/5.6, 1/40, Canon T3i

On the original photo, I forgot that the flash was going to fire, so it created a bad, kind of washed-out color. However, that was the best pose I got out of her, so I decided to make this my color match. It’s really easy: just choose Image > Adjustments > Match Color, choose the better photo as the source, and that was it! Sometimes Photoshop feels like a complete miracle!


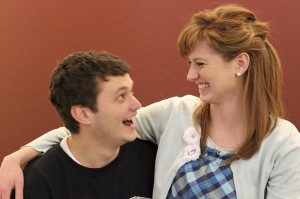
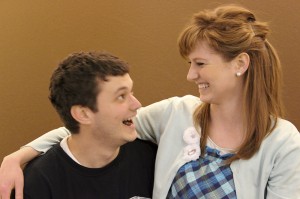
The Happy Couple, February 7, 2012, 10:04pm, f/5.6, 1/13, Canon T3i
For this I decided to take the background color and replace it. It’s easy: Image > Adjustments > Replace Color. Then you choose the color you want to replace, adjust sliders to capture the most of that color you can without grabbing any other color, and then adjust sliders to choose which color you want to change it to. For this I went with a brownish background. I’m just imagining the possibilities with a green screen!


Self Portrait, January 8, 2012, 9:35am, f/5.6, 1/50, Canon T3i
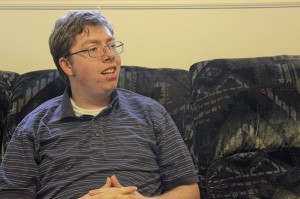
When trying to decide which portrait to enhance, not having talked to anyone about Photoshopping them, I decided “my Facebook profile pic is a blurry piece of crap and maybe it’s time to fix that!” So I set up my camera, pointed it at the couch, got some focus, and set the timer. Because I have a T3i, the screen could rotate towards myself so I could set myself on the thirds. Then I cropped to focus in on my face more and did some enhancements. I whitened my sadly non-white teeth, removed some blemishes, and did a little airbrushing (but not much, I didn’t want to make myself look like a fashion magazine). Then I just got rid of the distracting windowsill above my head and a very stray and noticeable piece of hair!
by Andy Bell | Feb 8, 2012 | Photo Class, Photography |
So after some serious technical difficulties, and having to redo a number of photos, here are my so-so portraits.

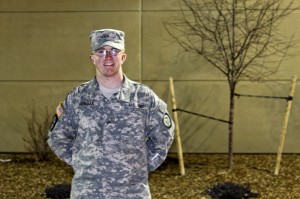
The Army Man, February 7, 2012 9:26pm, f/5.6, 1.6, Canon T3i
At first I was going to ask Kyle to turn to the side a little or something so he wasn’t looking straight on at the camera, but I decided against it. Straight ahead captures who he is better: he’s always looking forward and is a guy who walks a straight line.

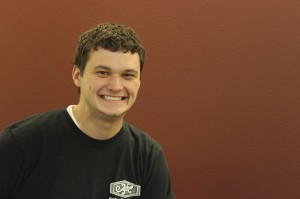
Brad, February 7, 2012 10:03pm, f/5.6, 1/13, Canon T3i
I think this would have been better if he had been wearing his camo hat. He seems to always be wearing a hat.

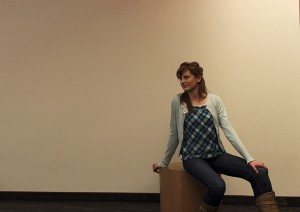
Untitled, January 7, 2012 10:01pm, f/4.0, 1/50, Canon T3i, minor cropping done to cut out ugly background stuff

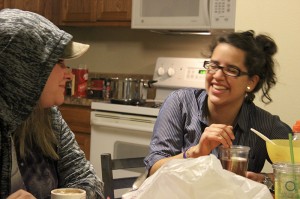
Cocoa, January 6, 2012, 11:02pm, f/5.6, 1/15, Canon T3i
After FHE the other night, we went sledding. It was great, and I wish there had been enough light to get any photos from the sledding. After that though, we all had some hot chocolate. After I saw two of them laughing and joking, I asked them to hold that pose for a photo.

Intently Looking, January 6, 2012, 11:18pm, f/5.6, 1/13, Canon T3i
I wish I remembered what they were looking at. This was a lucky shot though. The expression on Stacie’s face was much more fun in this photo than any of the others.
by Andy Bell | Jan 30, 2012 | Editing, Photo Class |
The Adobe Camera Raw Plugin is AMAZING!


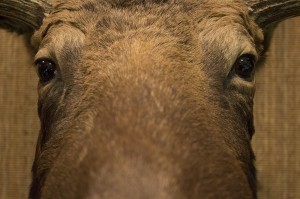
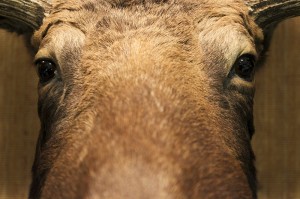
“Moose Macro”; January 23, 2012, 10:33am; Rexburg, ID; f/5.0; 1/30; Canon T3i
I adjusted brightness and light to make the photo look good. Then I used an adjustment brush to paint on the sides of the moose, defocusing and lowering brightness and exposure significantly, while leaving the main part of the moose untouched. All in Camera Raw. (Edited from a JPEG.)


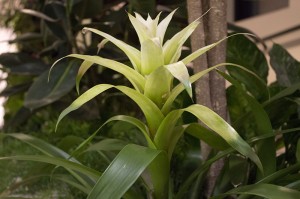
“Flower”; January 21, 2012, 10:57pm; Rexburg, ID; f/4.5; 1/13; Canon T3i
Again, Camera Raw plugin using a JPEG. I first made the picture a little more balanced (using the auto setting in Raw), then I used an adjustment brush to bump up the clarity, saturation, and brightness and exposure of the flower, almost giving it a slight halo.
