Editing 3 – Flexible Edits


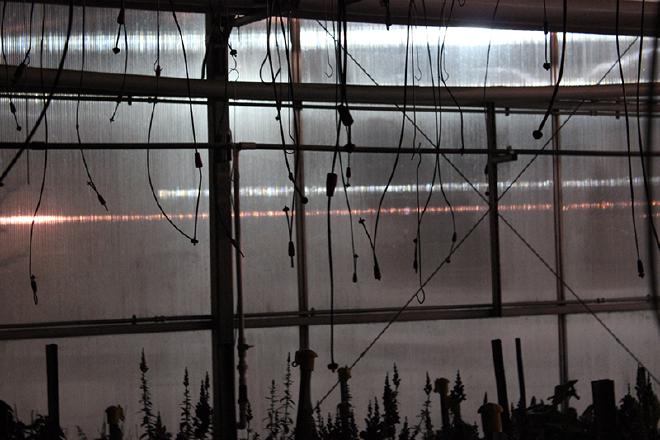
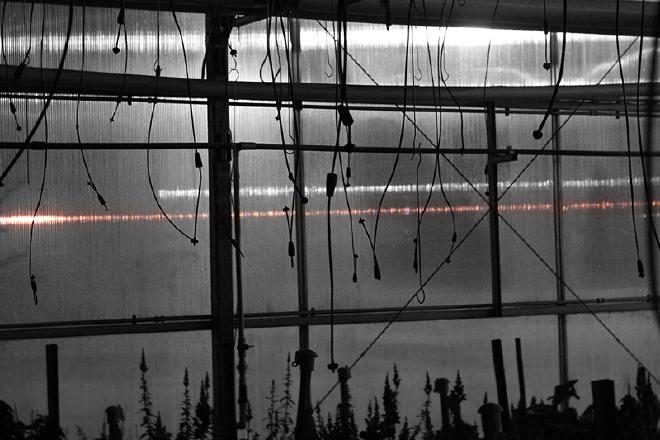
For this one, I used a combination of smart filters and adjustment layers. To start, I applied the “smart sharpen” filter on the image. The radius was about 5 pixels because it really made the water tubes stand out. Then I masked out the sharpen filter completely at the bottom, and about 60% at the top, so that the middle would stand out even more. However, I thought it still needed something else, so I applied the black and white adjustment layer to the image, and masked it out in the middle, where the red light was diffusing on the greenhouse wall. I used a very soft feather to mask it out.


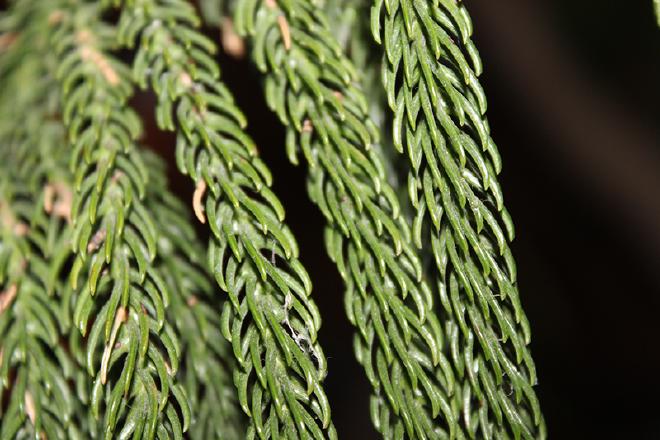
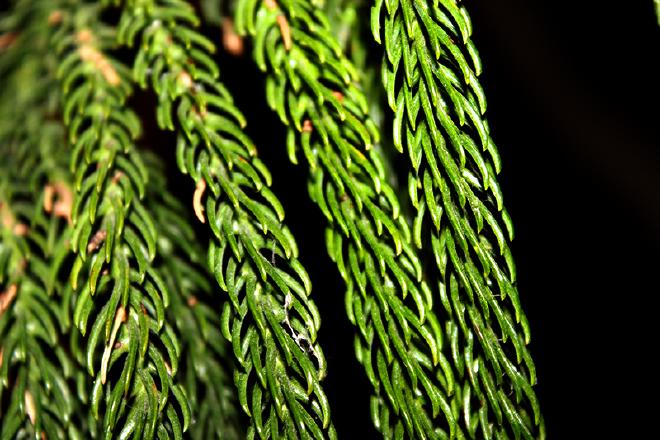
This edit was much more simple. I simply used two adjustment layers. The first was levels, just to adjust the contrast of the image. Then I used the hue/saturation one. With that one, I did masking so that the effect was most prominent on the parts that were closest to the lens and in focus most. Then I used less as the branches got further back.